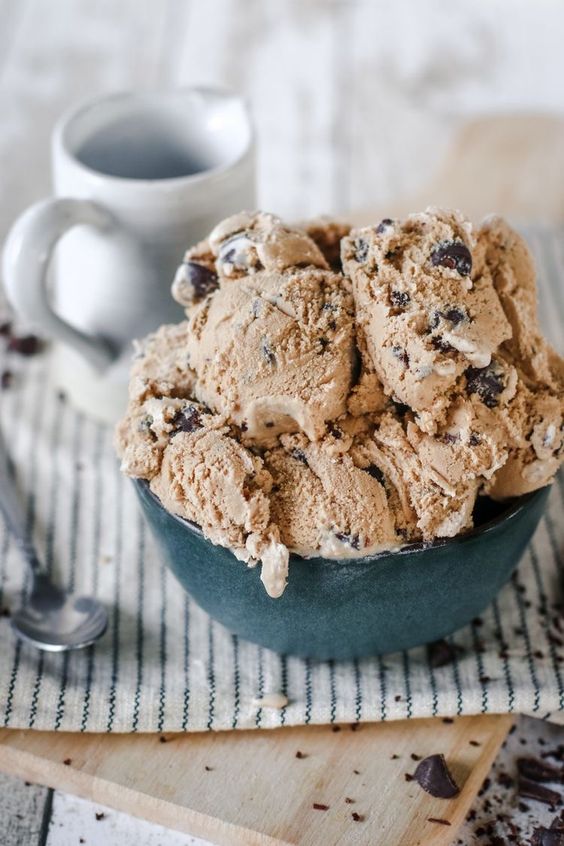
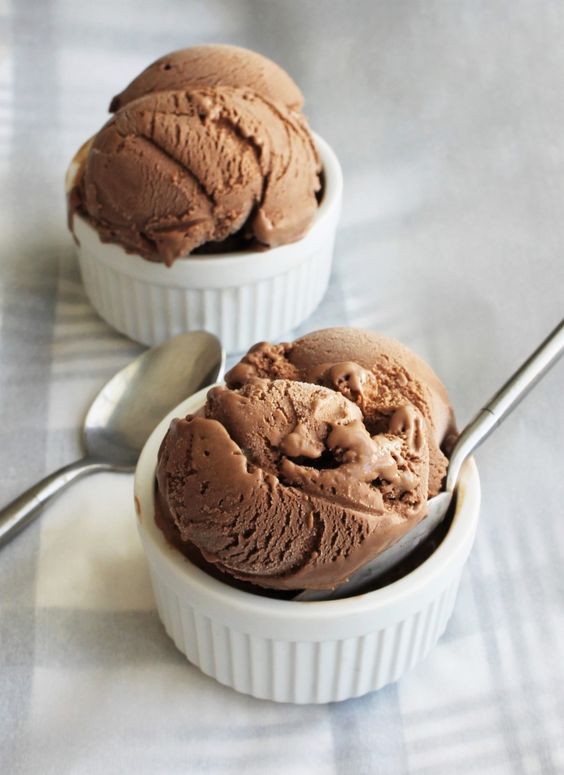
Nothing compares to the indulgent, creamy flavor of homemade chocolate fudge ice cream. With the Ninja Creami, you can effortlessly whip up this luscious dessert right in your own kitchen. Whether it’s for a special occasion or simply to satisfy a sweet craving, this guide will walk you through the steps to create the perfect chocolate fudge ice cream. Dive in to discover essential tips for success and a detailed recipe to get you started.
TIPS FOR A DELICIOUS NINJA CREAMI CHOCOLATE FUDGE ICE CREAM
Crafting the perfect chocolate fudge ice cream with your Ninja Creami can be a delightful process. Here are some tips to ensure your ice cream is creamy, rich, and absolutely delicious:
USE HIGH-QUALITY INGREDIENTS
- Chocolate: Choose high-quality cocoa powder and dark chocolate for a deeper, richer flavor.
- Dairy: Opt for full-fat milk and heavy cream to create a creamy, smooth texture.
- Sugar: While granulated sugar is standard, experimenting with brown sugar or a combination of both can enhance the flavor.
BALANCE YOUR FLAVORS
- Salt: A pinch of salt will enhance the chocolate flavor and balance out the sweetness.
- Vanilla Extract: Adding vanilla extract will deepen the flavor and complement the chocolate.
TEXTURE MATTERS
- Churn Properly: Make sure your Ninja Creami is correctly set up and churns the mixture thoroughly.
- Add-Ins: Incorporate chocolate chunks, nuts, or marshmallows after churning for extra texture and flavor.
CHILL THE BASE
- Refrigerate Before Churning: Allow your ice cream base to chill in the refrigerator for at least 4 hours, or overnight if possible. This step is essential for achieving the perfect texture.
NINJA CREAMI CHOCOLATE FUDGE ICE CREAM RECIPE
INGREDIENTS
- 2 cups heavy cream
- 1 cup whole milk
- 1 cup granulated sugar
- ¾ cup unsweetened cocoa powder
- 4 oz dark chocolate, chopped
- 1 teaspoon vanilla extract
- ¼ teaspoon salt
INSTRUCTIONS
- Combine Dairy and Sugar: In a medium saucepan, mix the heavy cream, whole milk, and granulated sugar. Heat over medium, stirring occasionally, until the sugar is completely dissolved and the mixture is warm.
- Add Cocoa and Chocolate: Whisk in the unsweetened cocoa powder until fully combined. Add the chopped dark chocolate and stir until it is melted and seamlessly incorporated.
- Enhance Flavors: Remove the saucepan from heat. Stir in the vanilla extract and salt, mixing well to combine.
- Chill the Mixture: Pour the mixture into a heat-proof container and allow it to cool to room temperature. Once cooled, cover and refrigerate for at least 4 hours, or overnight for best results.
- Churn the Ice Cream: Transfer the chilled mixture into your Ninja Creami pint container and freeze according to the manufacturer’s instructions.
- Process in the Ninja Creami: Once frozen, insert the container into the Ninja Creami machine and process using the ice cream setting.
- Add Optional Mix-Ins: If desired, after the initial churning, fold in any additional mix-ins like chocolate chunks or nuts using the mix-in setting on your Ninja Creami.
- Serve and Enjoy: Scoop the freshly churned chocolate fudge ice cream into bowls or cones. Enjoy immediately, or store in the freezer for later indulgence.
By following these tips and the detailed recipe, you’ll craft a rich and velvety chocolate fudge ice cream that’s bound to impress anyone who tastes it. Enjoy your delicious homemade dessert!